Introduction
Green Bean Bundles are a delightful way to elevate your vegetable side dish. This dish showcases tender green beans wrapped in savory flavors, creating a stunning presentation on your dinner table.
Ideal for holiday feasts or cozy family dinners, these bundles bring a mix of crunch and flavor that will appeal to both adults and children alike. With simple ingredients and easy preparation, they're a perfect addition to any meal.
Let's explore how to prepare these delicious bundles that will impress your guests and delight your palate.
Ingredients
- 1 pound fresh green beans
Green beans are the star ingredient, providing a crisp texture and vibrant color. Choosing fresh, high-quality beans is essential for a tender bite and a bright flavor. - 8 slices of bacon
Bacon adds a rich, smoky flavor that complements the freshness of the green beans. As it cooks, the bacon renders its fat, which helps to flavor the bundles while keeping them moist. - 2 tablespoons olive oil
Olive oil enhances the overall flavor and helps in roasting the bundles evenly. It also acts as a moisture barrier, ensuring that the beans retain their crispness while cooking. - 1 teaspoon garlic powder
Garlic powder provides an aromatic sweetness and depth of flavor to the dish. It's an easy way to add a subtle yet noticeable garlic presence without the need for fresh garlic. - 1 teaspoon black pepper
Black pepper adds warmth and a slight kick, balancing the flavors of the bundles. It's a classic seasoning that elevates the dish without overpowering the natural taste of the beans. - 1 teaspoon sea salt
Salt is critical in enhancing the flavors of all the ingredients. It also helps to draw out moisture from the green beans, intensifying their flavor during cooking. - Optional: 1 tablespoon balsamic vinegar
Balsamic vinegar can add a hint of sweetness and acidity to the bundles, enhancing their flavor profile. It’s not essential, but it provides an additional layer of complexity.
Directions & Preparation
Step 1: Preheat your oven to 400°F (200°C).
Setting the right temperature is crucial for roasting the green bean bundles properly. A hot oven ensures that the bacon crisps up while the beans cook to tender perfection. It also helps to caramelize the outer surface, enhancing flavor.
Step 2: Wash and trim the green beans.
Rinsing your green beans removes any dirt or pesticides, while trimming the ends promotes a more refined appearance. Freshly trimmed beans will cook evenly and offer a pleasant snap with each bite.
Step 3: In a bowl, mix olive oil, garlic powder, pepper, and salt.
Combining the seasoning with olive oil helps to coat the beans more evenly. This step ensures that every bundle is flavorful, while also allowing the oil to create a golden-brown finish during roasting.
Step 4: Toss the green beans in the olive oil mixture.
Coating the beans guarantees that they absorb the seasonings effectively. This will not only enhance their taste but also aid in even cooking, making sure every bite is delicious and flavorful.
Step 5: Take a handful of green beans (about 6-8) and wrap them with a slice of bacon.
Bacon serves as both a flavor enhancer and a protective layer, keeping the beans moist during cooking. Ensuring the beans are tightly wrapped means they will cook together evenly, resulting in perfect bundles.
Step 6: Place the wrapped bundles on a baking sheet.
Arranging the bundles on a baking sheet provides sufficient space for the bacon to crisp up. It also allows hot air to circulate around each bundle, ensuring they roast evenly for the best texture.
Step 7: Drizzle any remaining olive oil mixture over the bundles.
This extra drizzle allows any leftover seasoning to further flavor the bundles as they cook. It also aids in achieving a beautiful golden color on the bacon, enhancing the dish's appeal.
Step 8: Bake in the preheated oven for 20-25 minutes.
The baking time is crucial; it allows the bacon to become crispy while the green beans cook through. Keep an eye on them to prevent burning, and you can turn the sheet halfway for even browning.
Step 9: Optional: Drizzle with balsamic vinegar before serving.
Adding balsamic vinegar at the end can elevate the flavor profile, lending a hint of acidity that balances the richness of the bacon. This step is about personal taste, so feel free to omit it if it's not to your liking.

The Perfect Pairing of Flavors
Combining green beans with crispy bacon creates a harmonious balance of flavors and textures. The smoky, savory notes of the bacon meld beautifully with the bright and fresh taste of the green beans. Each bite kaleidoscopes across the palate, making this dish a standout at any meal.
Customizing Your Bundles
Feel free to tailor the green bean bundles to your liking by adding extra ingredients or seasonings. Incorporating ingredients like nuts, cheese, or herbs can provide varied flavor profiles and textures. This flexibility makes the recipe not just approachable but also endlessly adaptable.
Serving Suggestions for Every Occasion
Green Bean Bundles are versatile enough to serve at casual family dinners or festive holiday gatherings. Their stunning presentation makes them an impressive addition to charcuterie boards, alongside meats, cheeses, and other favorite sides, making them a crowd-pleaser at any event.
FAQs
What if my bacon isn't crispy after baking?
If the bacon isn't crispy after the recommended baking time, try broiling the bundles for an additional 2-3 minutes while keeping a close watch to avoid burning.
Can I use turkey bacon instead of regular bacon?
Yes, turkey bacon is a suitable alternative if you're looking for a leaner option. However, it may not crisp up as much, so consider pre-cooking it slightly before wrapping.
What should I do if my green beans seem undercooked?
If your beans remain too crunchy after the initial baking time, extend the cooking by 5 minutes. Keep in mind that roasting times may vary depending on your oven.
Can I add cheese to the bundles?
Certainly! Adding cheese like shredded Parmesan or crumbled feta can enhance the flavor. Place cheese atop the bundles during the last few minutes of baking for best results.
What size green beans work best for this recipe?
Choose slender, medium-sized green beans for optimal taste and tenderness. Larger beans may require longer cooking time, while thinner beans risk becoming overcooked.
How many bundles should I prepare per person?
Typically, 2 to 3 bundles per person work well as a side dish. Adjust this number based on the overall meal and your guests' appetites.
Can I add more ingredients like nuts or spices?
Absolutely! Feel free to incorporate nuts like slivered almonds or spices such as smoked paprika to add extra flavor and texture to your bundles.
Conclusion
Green Bean Bundles bring a flavorful, visual appeal that transforms a simple vegetable side into a star dish. Their versatility allows you to customize them with different seasonings or toppings, making them suitable for any occasion.
With a mix of simplicity and creativity, these bundles promise to please both your family and guests. Enjoy this dish as part of a larger meal or savor it as a standalone delight.
Recipe Card

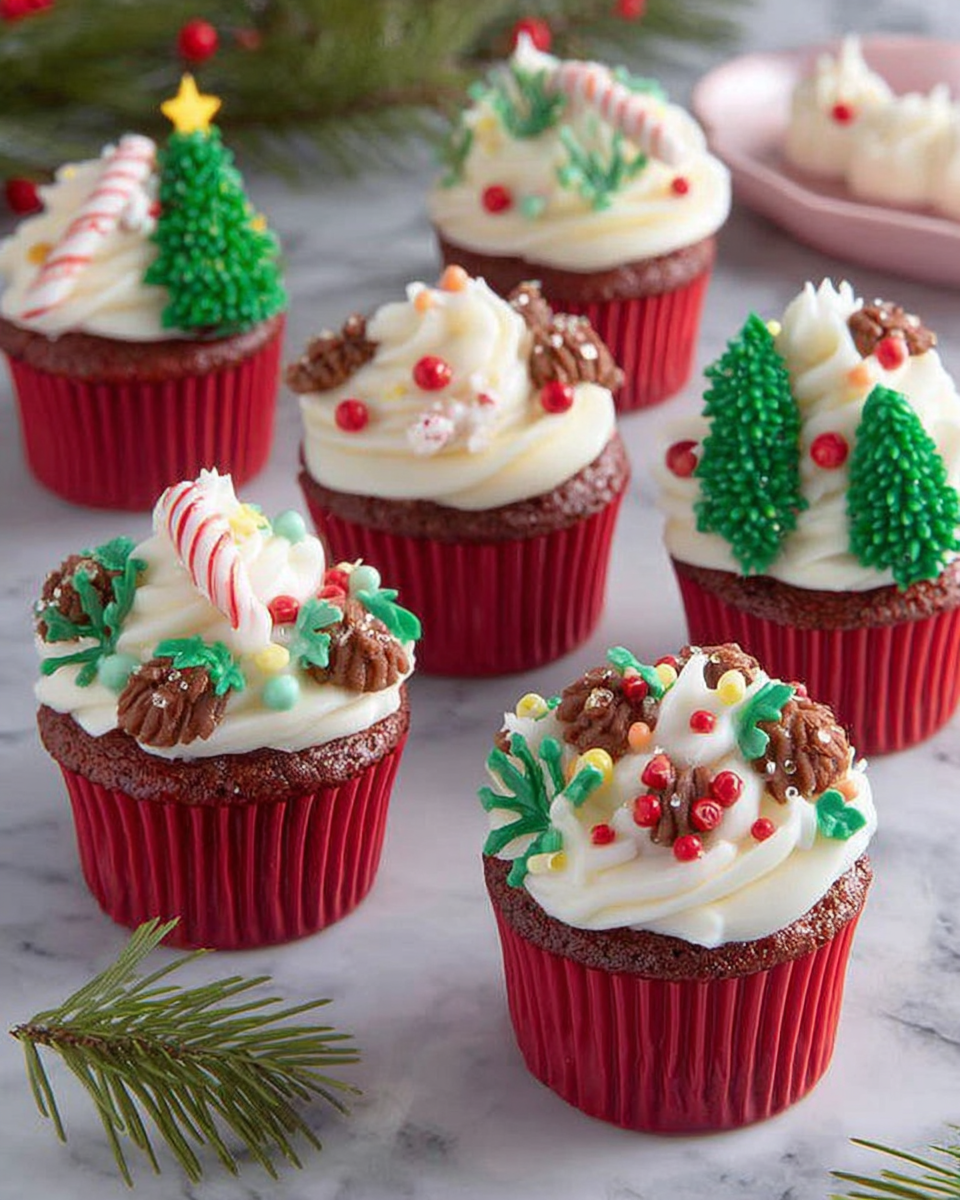
Delightful White Chocolate Peppermint Cupcakes
Ingredients
- 1 cup all-purpose flour
- 1/2 cup unsweetened cocoa powder
- 1 cup granulated sugar
- 1/2 cup unsalted butter softened
- 2 large eggs
- 1 teaspoon vanilla extract
- 1/2 cup white chocolate chips
- 1/2 teaspoon peppermint extract
- 1/4 teaspoon salt
- 1/2 cup heavy cream
- Additional white chocolate for garnish
Instructions
- Preheat the oven to 350°F (175°C) and line a cupcake pan with liners.
- In a mixing bowl, cream together the softened butter and granulated sugar until light and fluffy.
- Add the eggs one at a time, mixing well after each addition. Then, mix in the vanilla extract.
- In a separate bowl, whisk together the flour, cocoa powder, baking powder, and salt.
- Gradually combine the dry ingredients with the wet mixture, alternating with buttermilk until just combined.
- Fold in the white chocolate chips and peppermint extract gently.
- Divide the batter evenly among the cupcake liners and bake for 18-20 minutes.
- Allow the cupcakes to cool in the pan for about 10 minutes before transferring them to a wire rack.
- While the cupcakes cool, whip the heavy cream until soft peaks form.
- Frost the cooled cupcakes with whipped cream and garnish with white chocolate shavings.
- Serve your White Chocolate Peppermint Cupcakes and enjoy!
Notes
Additional serving suggestions: pair with a crisp salad, garlic bread, or roasted seasonal vegetables for balance.
For make-ahead, prep components separately and assemble just before heating to preserve texture.
Taste and adjust with acid (lemon/vinegar) and salt right at the end to wake up flavors.