Introduction
As the holiday season approaches, kitchens everywhere begin to fill with warm spices and sweet aromas. Among the array of festive treats, peppermint meringues stand out for their light, airy texture and delightful minty flavor. These charming confections are perfect for holiday gatherings and add a touch of elegance to any dessert table.
The beauty of peppermint meringues lies not only in their vibrant color and refreshing taste but also in their melt-in-your-mouth quality. Crafted primarily from egg whites and sugar, they offer a delightful contrast to richer holiday desserts. With their crisp exteriors and soft interiors, these meringues embody the essence of holiday baking.
Ingredients
- 3 large egg whites
Egg whites are key to creating the airy texture of meringues. When whipped, they incorporate air, helping to achieve that signature light and fluffy consistency. - 3/4 cup granulated sugar
Sugar stabilizes the meringue and allows it to maintain its structure. It also adds sweetness, balancing the peppermint flavor. - 1/4 teaspoon cream of tartar
This ingredient acts as a stabilizer, helping the egg whites whip to their fullest volume and preventing deflation. - 1 teaspoon pure peppermint extract
Peppermint extract infuses the meringues with a refreshing flavor that evokes the essence of the holiday season. - Red gel food coloring
The optional food coloring adds a festive touch, allowing you to create visually appealing swirls in your meringues.
Directions & Preparation
Step 1: Preheat your oven to 200°F (93°C) and line a baking sheet with parchment paper.
Setting the oven at a low temperature is crucial for drying the meringues without browning them. The low heat allows them to bake slowly, resulting in the dry, crisp texture that defines good meringues.
Step 2: In a clean, dry mixing bowl, begin whipping the egg whites on medium speed until they become foamy.
Starting at a lower speed helps to incorporate air gradually into the egg whites. This stage is essential for achieving a good volume before adding the sugar.
Step 3: Add the cream of tartar and continue whipping until soft peaks form.
Soft peaks indicate that the egg whites are aerated sufficiently but are not yet fully stabilized. At this stage, they should hold shape but still be glossy and moist.
Step 4: Gradually add the granulated sugar, one tablespoon at a time, while continuing to whip on high speed until stiff peaks form.
This step is vital for incorporating air and sugar without deflating the mixture. Stiff peaks will help meringues hold their structure during baking.
Step 5: Mix in the peppermint extract and desired amount of food coloring, if using.
Adding the flavoring and color at this stage ensures they are evenly distributed throughout the meringue, enhancing both taste and appearance.
Step 6: Spoon or pipe the meringue mixture onto the prepared baking sheet, creating small mounds or swirls.
This step is where you get creative. Use a piping bag for neat shapes or a spoon for rustic mounds. Leave space between each meringue to allow for any slight expansion.
Step 7: Bake the meringues in the preheated oven for 1.5 to 2 hours, until they feel dry and lift easily from the parchment.
Patience is key here. The longer drying time allows moisture to evaporate without cooking the meringues, achieving that perfect crisp exterior.
Step 8: Turn off the oven and leave the meringues inside as they cool, preferably overnight.
Cooling them in the oven helps to keep them from cracking due to sudden temperature changes, ensuring they remain light and crisp.

The Magic of Peppermint Flavor
Peppermint is a quintessential holiday flavor, evoking memories of cozy gatherings and festive cheer. Its refreshing taste fills your senses with the joy of the season. When combined with the sweetness of meringues, peppermint creates a harmonious blend that makes each bite feel indulgent yet light. Experimenting with the amount of extract allows you to customize the intensity of flavor to your preference.
Colorful Swirls for Festive Flair
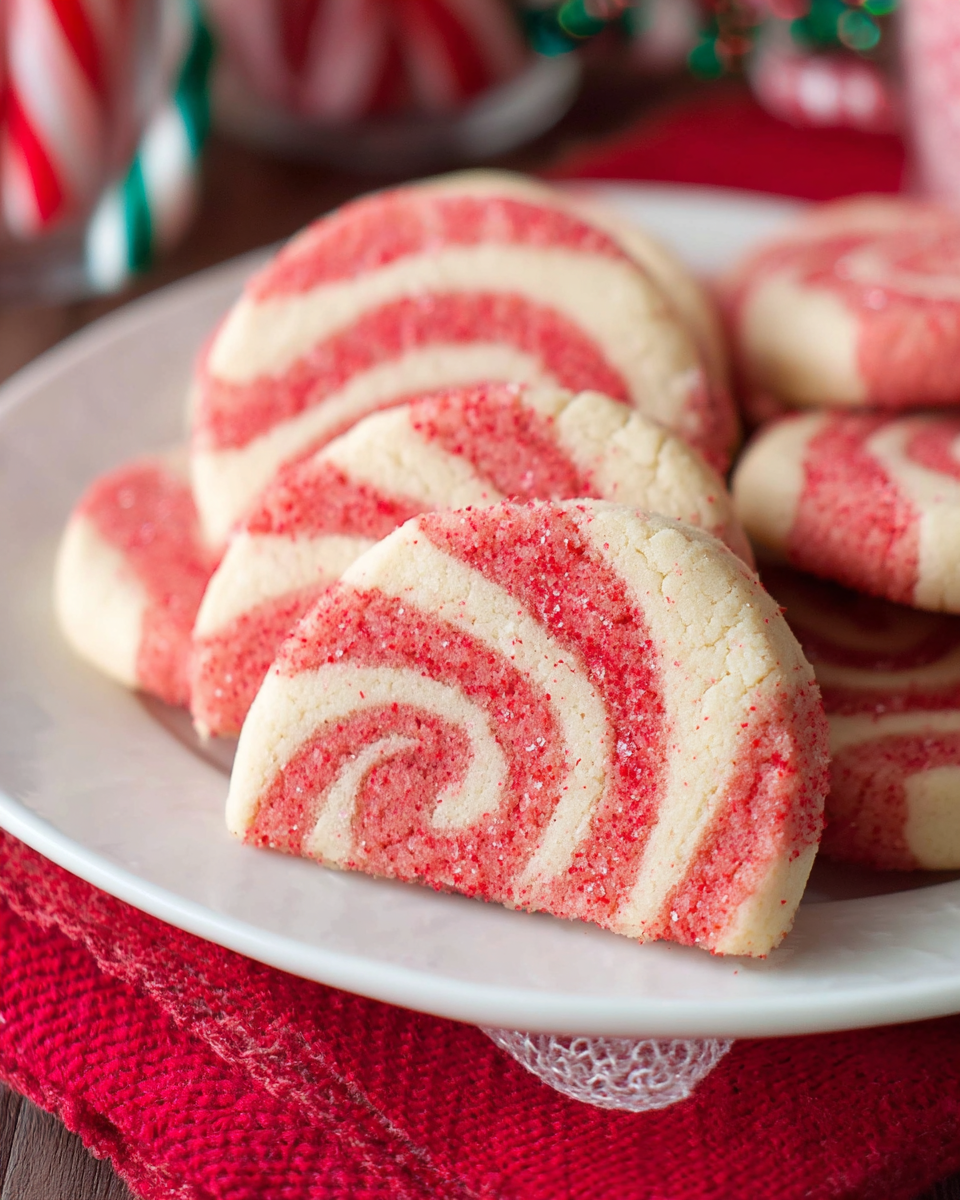
Adding red gel food coloring to your meringue mixture not only elevates presentation but also adds a touch of festive spirit. Swirling the color into the meringue creates a stunning marbled effect that is sure to catch the eye. The striking appearance makes these meringues perfect for holiday occasions, adding a visual pop to your dessert spread.
Versatile Meringues for All Occasions
While peppermint is a holiday favorite, these meringues can easily be adapted for other occasions throughout the year. Experiment with various extracts like vanilla, almond, or even lemon for a refreshing twist. This versatility allows you to enjoy these delightful treats beyond the holidays, making them a year-round indulgence.
FAQs
Why are my meringues sticky after baking?
Sticky meringues often result from insufficient baking time. Ensure they dry out completely in the oven to achieve that crisp texture.
Can I make meringues without cream of tartar?
While cream of tartar helps stabilize the egg whites, you can substitute it with a splash of lemon juice or vinegar for a similar effect.
What if my meringue is too thin?
If your meringue mixture is too thin, continue whipping at high speed until stiff peaks form. Adding a bit more sugar can also help stabilize it.
Can I scale this recipe up for larger gatherings?
Yes, you can double or triple the recipe. Just ensure you have enough baking sheets and space in your oven.
What can I do if my meringues crack while baking?
Cracking usually indicates that the meringues baked at too high a temperature or cooled too quickly. Maintain a low oven temperature and let them cool gradually.
Is it necessary to use gel food coloring?
While gel food coloring gives vibrant results, you can use liquid food coloring in a pinch. Just be cautious about adding too much liquid, which can affect the meringue stability.
Conclusion
Peppermint meringues are a delightful addition to your holiday traditions, combining both elegance and flavor in each delicate bite. Their refreshing minty essence and charming appearance make them a treat everyone will love.
Whether enjoyed on their own, used as a garnish for desserts, or added to gift boxes, these meringues are sure to spread joy. As you whip up this festive treat, enjoy the process and let the sweet aromas fill your home with holiday spirit.
Recipe Card

Peppermint Meringues: Light, Festive Christmas Treats
Ingredients
- 3 large egg whites
- 3/4 cup granulated sugar
- 1/4 teaspoon cream of tartar
- 1 teaspoon pure peppermint extract
- Red gel food coloring
Instructions
- Preheat your oven to 200°F (93°C) and line a baking sheet with parchment paper.
- In a clean, dry mixing bowl, begin whipping the egg whites on medium speed until they become foamy.
- Add the cream of tartar and continue whipping until soft peaks form.
- Gradually add the granulated sugar, one tablespoon at a time, while continuing to whip on high speed until stiff peaks form.
- Mix in the peppermint extract and desired amount of food coloring, if using.
- Spoon or pipe the meringue mixture onto the prepared baking sheet, creating small mounds or swirls.
- Bake the meringues in the preheated oven for 1.5 to 2 hours, until they feel dry and lift easily from the parchment.
- Turn off the oven and leave the meringues inside as they cool, preferably overnight.
Notes
Additional serving suggestions: pair with a crisp salad, garlic bread, or roasted seasonal vegetables for balance.
For make-ahead, prep components separately and assemble just before heating to preserve texture.
Taste and adjust with acid (lemon/vinegar) and salt right at the end to wake up flavors.


